Let's Get This Garden Started..

This is what my back garden looked like in April, when I had just moved in.

Within a fortnight I had marked out the site for the first vegie garden, and began piling moving cartons onto the weeds.

All done. I had to hold them down with bricks as I hadn't bought any pea straw yet. Cardboard is brilliant for suppressing weeds. You need at least two layers, so flattened cartons are perfect. Make sure they overlap generously. Don't worry about tape or stickers - as the cardboard biodegrades, it is very easy to pull the remaining tape up and bin it.


This is the second vegie garden, which will receive full sun. It is the same view as the photo at the top of the post, four months later. I waste far too much time gazing fondly at my lovely retaining wall.

This is what it looked like last week, complete with a crop of giant green weeds. I squash them down by stamping on them with my gum boots, and then again, the cardboard carton and pea straw treatment. This time I had run out of boxes, so I popped down to a gift store a couple of blocks down the hill, and the toy store around the corner and asked for cardboard boxes, which they were delighted to give to me.
This garden I do not plan to dig over - I will give it a few weeks then plant seedlings straight into holes poked in the cardboard. This works well for big sturdy plants like tomatoes, zucchini, pumpkin, cucumber etc. I may dig out a trench to plant bean seeds into. It is also an effective way to plant potatoes.
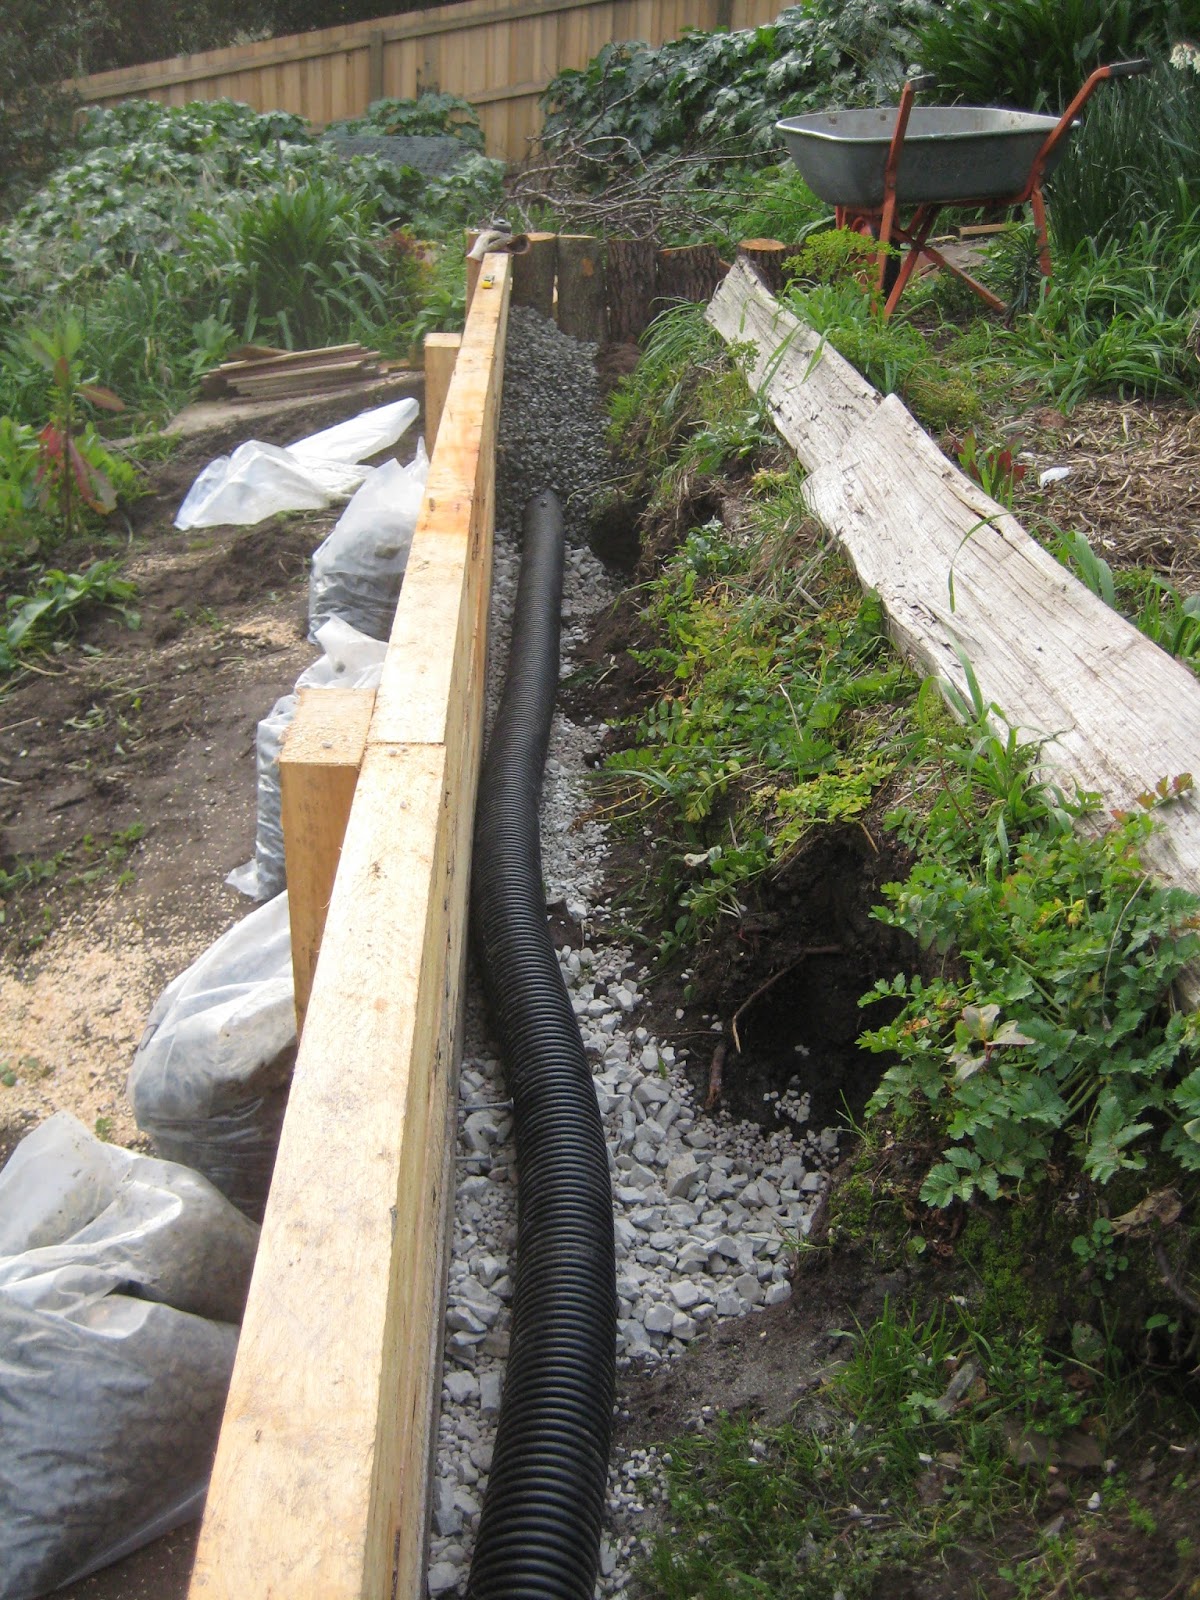
Remember the space behind the retaining wall? I filled it with gravel, then rubble, then soil from a large pile probably dumped in the garden during renovations done by the previous owners. When I left my old place I cleared out the old compost bins (to bring with me, of course!) and also (of course!) saved the compost, transferring it into big bin bags and old seed sacks. It has been sitting in my garden all winter, and yesterday I used it to add a layer of nutritious goodness to the top of this garden bed. Then I popped down to my local garden centre, which makes its own compost out of green waste and whey from a local dairy. It is amazingly potent stuff, and I added a layer of that as well.

Now I have a herb garden, which should receive many hours of sun each day in the warmer months. The herbs are currently very small, having overwintered in the pots I brought from the old house. So far I have French tarragon, echinacea and sage. I also have some thyme sprigs from a friend, and Benson the helpful puppy has kindly aerated the whole bed for me with his paws and ever hopeful nose.
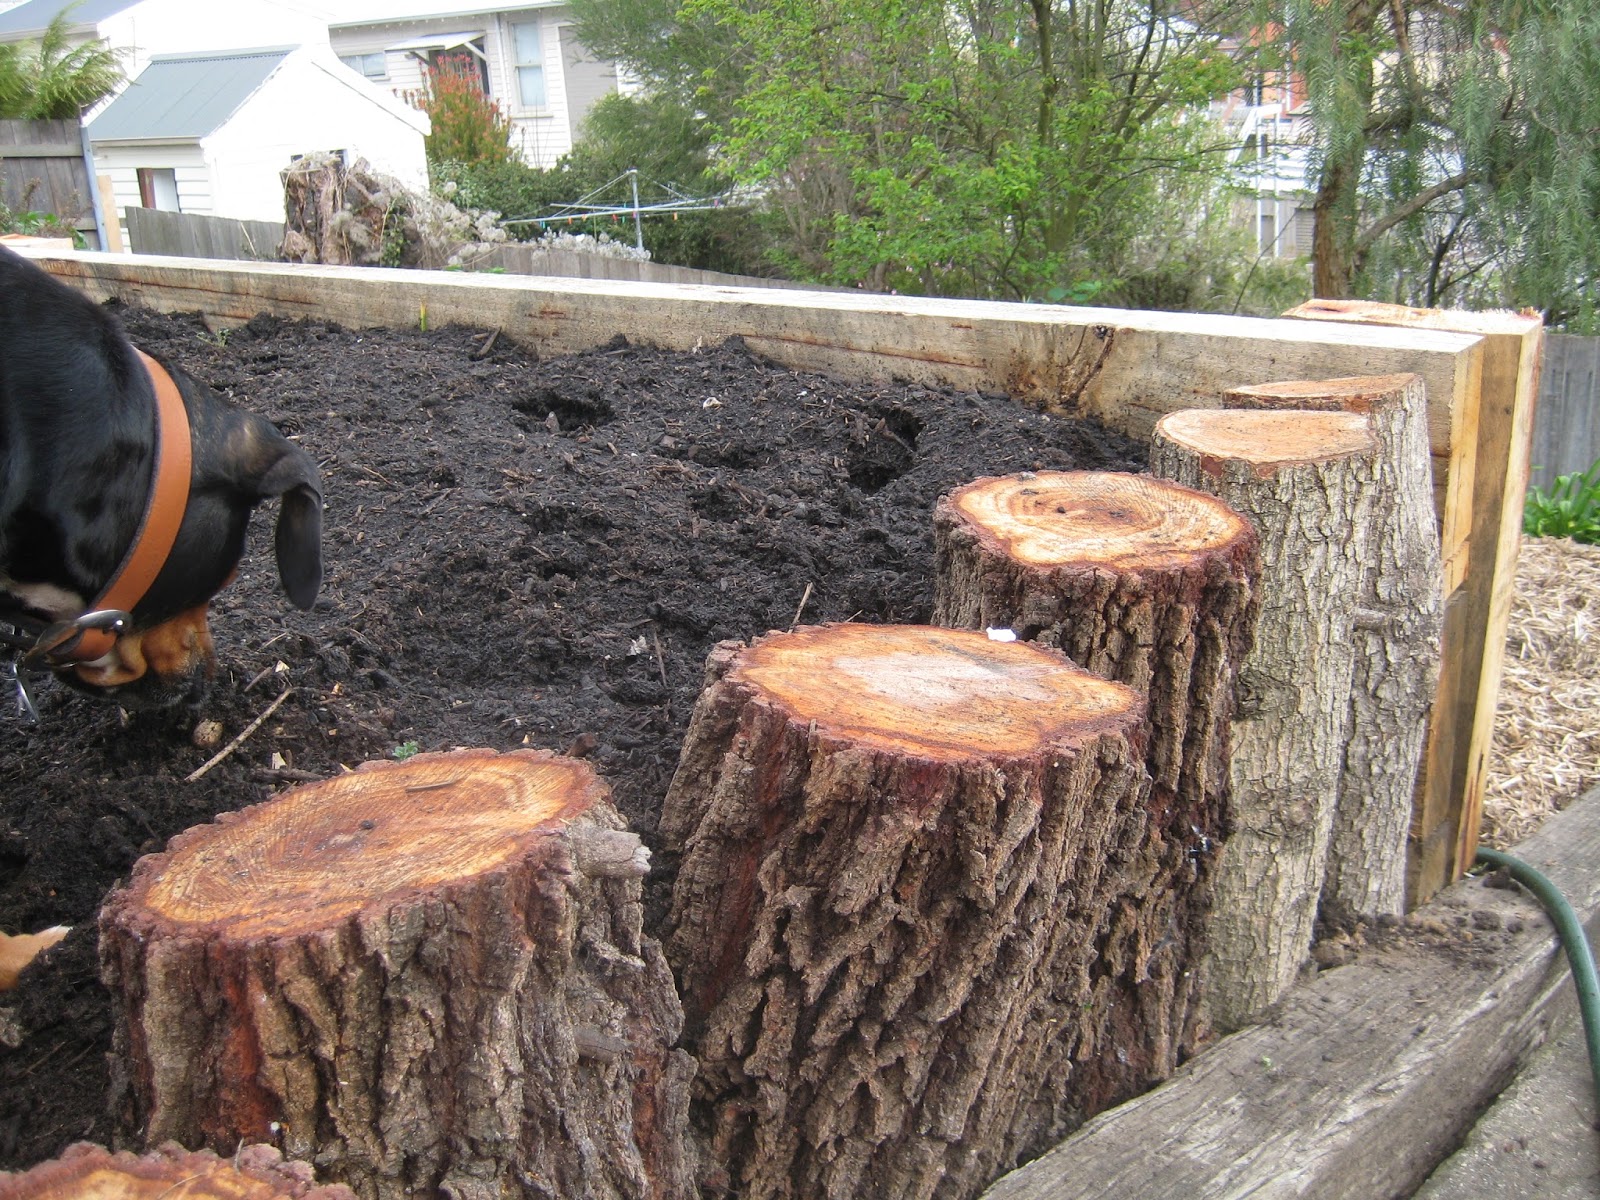
When I designed the retaining wall I accidentally forgot to design a side wall as well. Oops. Can't be expected to remember everything. So I used lengths of log left for firewood when I had some trees cut down. I am calling it rustic..
I am so excited to have 'nearly gardens' which will soon be ready for spring planting. Spring! Gardens! Only the most thrilling words in the English language!


Comments
I love the rustic side wall. Very clever. Creative and practical.
I'm not eating any wandering Jew. I tried to think of the starving in the world but it wasn't enough motivation. I think if it is one out of five on the weed scale, it probably equates to one out of ten on the domesticated food scale. If the bush turkeys (wait till they learn how to cross Bass Strait - they've recently arrived in Sydney and are striving after causing misery to gardeners in Qld) won't eat the weed, nothing will.
You have the extra-hard job of working on a slope, but you have done well with your retaining wall, and its rustic side! Your gardening seems to be going marvelously. I expect that you did a lot of preliminary planning? I had not seen Benson before - he is so handsome!
Here is my chickweed salve, from your last post's comments:
24-25 grams (about 1 oz.) of beeswax
1 teaspoon castor oil
1 Tablespoon refined coconut oil
A bunch of fresh chickweed, washed, and dried a bit (sorry, I just put as much into my pot
as will fit; it shrinks a lot)
I melt the beeswax in a 1 liter (1 qt.) pot, on a fairly low heat.
Then I add the castor and coconut oils.
Then I add the chickweed and simmer it for awhile (I am a very vague cook), maybe half an
hour; you don't really want to cook the chickweed, just draw the medicinal components out
of it.
While it is still liquid I pour it - through some cheesecloth (do not use a sieve/strainer; you will never get this out of it) - into a small baby food jar (the doggies always loved
their strained chicken!). The residue is composted.
It cools quickly, into a really waxy consistency, which is fine for me; it melts quickly on the skin with body heat. It would be more salve-like if the oils were increased, however, I made this batch last December and it seems as fresh as ever; I am still using it. It is especially good for chapped and cracked winter skin - something you do not have to worry about for quite awhile!
Pam
Looks like you have been plenty busy, and fingers crossed your hard work will be paid off with bountiful harvests.
Bek, fingers crossed indeed! Like you I plan to squeeze as much food as possible into my suburban block..
Linda, I hear you - I don't have a touch screen, but I can't manage any of my children's screens at all.. Benson has a very small brain.. but luckily he doesn't dig, unless there are bones in the compost.. which there often are, as I throw everything into it. Maybe I will have to pile all the bones into a special digging pit for the dog..
The garden is looking lovely and you have such a nice rich black loam. The loam is I reckon a sign of many long years of care by the previous owners, even if that care was benign neglect (which is a good thing). The terraces look sturdy as too. Plus it is very nice to see that you have managed to harness the canine energy in the form of Benson! I planted out beetroot seeds the other day and have also managed to start the tomato seeds (inside of course). How crazy wet has this spring been? It is still raining outside here right now.
Cheers
Chris